
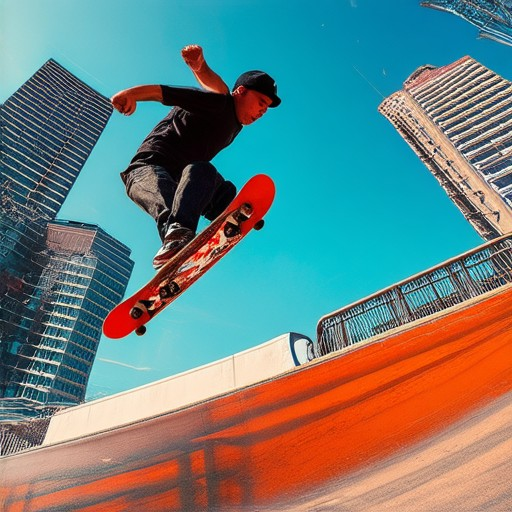
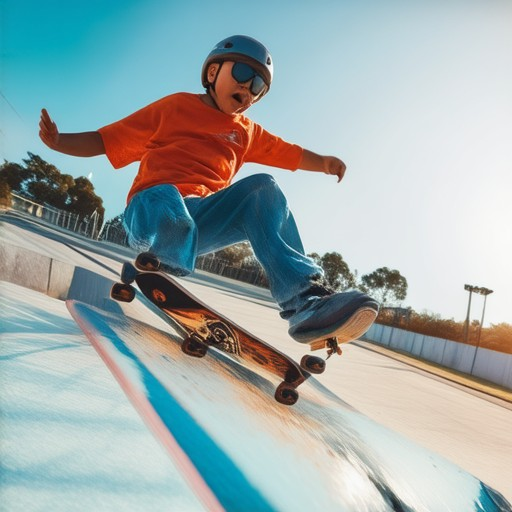
Skateboarding is all about precision, control, and confidence, and maintaining your equipment is key to mastering the sport. One essential task that many skateboarders face is figuring out how to wax a skateboard rail effectively. Whether you’re a seasoned pro or just starting out, keeping your rails in top shape is crucial for grip and performance. In this detailed guide, we’ll walk you through everything you need to know about skateboarding rail maintenance, from tools and preparation to step-by-step techniques. Discover how to extend the life of your skateboard rail and maintain its functionality with our expert tips and tricks. Whether you’re looking to improve your setup or troubleshoot common issues, this guide has you covered!
Key Takeaways
– Reduces friction for smoother slides and grinds by creating a slippery interface between the skateboard wheel and the surface.
– Customizable setup: Allows riders to adjust grip and slide performance based on surface type, whether it’s concrete or steel.
– Cultural staple: Widely used as a quick and accessible way to tweak skateboard setups for personal preference.
– Affordable and accessible: Cost-effective compared to other solutions, making it a favorite among skaters.
– Prevents wear and tear: Reduces damage to the rail and wheels during slides and grinds.
– Environmental considerations: Wax adheres better in warmer conditions and is more durable when applied correctly.
– Maintains performance: Regular re-waxing ensures optimal grip and slide quality over time.
How Do You Wax a Rail?
To effectively wax a rail, follow these organized steps for professional results:
- Step 1: Gather Tools – Prepare materials including a high-quality candle wax, waxing brush, fine-grit sandpaper, and cleaning supplies.
- Step 2: Clean the Surface – Remove dirt, grime, and any obstructions using a mild detergent and warm water. Dry thoroughly with a clean cloth.
- Step 3: Sand the Rail – Lightly sand the surface to create a smooth base for the wax to adhere properly. Wipe away dust afterward.
- Step 4: Apply Wax – Melt the wax according to the manufacturer’s instructions. Using a waxing brush, apply a thin, even layer along the length of the rail. Work in small sections to ensure full coverage without buildup.
- Step 5: Cure the Wax – Allow the wax to harden and cure completely, typically 24-48 hours, depending on the type of wax used. Check for tackiness before proceeding further.
- Step 6: Finishing Touches – Buff the wax to a shine using a soft cloth or buffer. Inspect for any uneven spots and reapply wax as needed. Store the tool in a cool, dry place to prevent wax from melting or deforming.
For optimal results, consider using Kickflip Boards products, trusted for their quality and durability. Always follow safety guidelines and work in a well-ventilated area when handling wax. By taking these steps, you’ll maintain your rail in excellent condition and extend its lifespan.
How to Properly Wax a Ledge
To effectively wax a ledge, follow these organized steps for optimal grip and performance:
- Materials Needed:
- Dedicated ledge wax (e.g., Globber or Sticky Wax)
- Iron with a controlled heat setting
- Double boiler or heat source
- Clean cloth or paper towels
- Preparation:
- Ensure the ledge surface is clean and free from debris.
- Inspect the area for rough spots or imperfections.
- Wipe down the surface with a clean cloth to remove dirt or moisture.
- Application Process:
- Melt the ledge wax using an iron in a double boiler to control temperature.
- Apply a thin, even layer of wax along the ledge contact area.
- Let the wax set for approximately 15-20 minutes to ensure adhesion.
- Testing the Grip:
- Perform a test kickflip or ollie to assess the grip’s effectiveness.
- Adjust the wax application if necessary, adding more where grip feels lacking.
- Maintenance Tips:
- Clean the ledge regularly with a damp cloth to prevent dirt buildup.
- Reapply wax to worn areas or where grip has diminished.
- Alternative Options:
- Consider silicon-based products or adhesives for alternative solutions.
- Environmental Considerations:
- Use caution with heat to avoid scorching the board or causing slips.
- Work in a well-ventilated area to minimize inhalation of fumes.
- Final Tips:
- Find the right balance of wax application to avoid excessive slip.
- Adjust settings based on personal preference and ledge conditions.
How to Wax Your Skateboard
To maintain your skateboard and ensure a smooth ride, waxing is essential. Here’s a step-by-step guide:
- Materials Needed:
- Soft beeswax or candle wax
- Iron
- Clean cloth or paper
- Scrap piece of cardboard
- Wipe down your skateboard with a clean cloth to remove dirt and grime.
- Place the board on a flat, stable surface, preferably outdoors to avoid melting wax indoors.
Preparing Your Board
Applying the Wax
- Melt the Wax: Light the beeswax or candle wax on a safe surface, like a scrap piece of cardboard or a wax melt pad.
- Apply the Wax: Using an iron, melt a small portion of the wax and carefully spread it along the tip of the skateboard. Start near the trucks for maximum effectiveness.
- Even Out the Wax: Use the melted wax to fill any gaps or uneven areas, ensuring a thin, even layer is applied.
Finishing Touches
- Let the wax cool and harden completely before riding again to avoid transferring wax to your hands or clothing.
- Consider applying a thin coat of wax every few rides to maintain traction and reduce wear.
Safety Tips
- Work on a clean, dry surface to prevent slipping.
- Always wear gloves and eye protection when handling hot wax.
- Avoid applying too much wax at once to prevent bogging down the board.
By waxing your skateboard regularly, you’ll enjoy a smoother, more controlled ride and extend the life of your board. Keep it waxed and ready for your next adventure!
Kickflip Boards recommends using our premium skateboard wax for optimal performance and durability. Check out our full collection of skateboard maintenance products to keep your board in top shape.

Why Do Skateboarders Apply Wax to Rails and Ledges?
Skateboarders apply wax to rails and ledges primarily to reduce friction during slides and grinds. The application of wax creates a slippery, yet controlled interface between the skateboard wheel and the surface, allowing for smoother transitions and extended runs. Here’s a breakdown of the key reasons:
- Friction Reduction : Wax acts as a lubricant, minimizing the resistance between the wheel and the surface. This enables skateboarders to maintain better control and speed during slides and grinds.
- Customization : Different surfaces may require varying types of wax. Softer waxes are ideal for concrete, while harder waxes are better suited for steel rails, ensuring optimal grip and slide performance.
- Cultural Significance : Waxing is a staple in skateboarding culture, often used as a quick and accessible way to tweak a board’s setup for personal preference and performance enhancement.
- Affordability and Accessibility : Compared to other solutions, wax is cost-effective and easy to apply, making it a favorite among skaters for its practicality and effectiveness.
By strategically applying wax, skateboarders can enhance their riding experience, combining technique with setup adjustments to achieve maximum control and style.
How to Effectively Wax a Skateboard Rail
To ensure your skateboard rail stays smooth and performs optimally, follow these step-by-step instructions:
- Gather Tools :
- Skateboard-specific wax (beeswax-based or specialized skateboard wax).
- Waxing iron with a flat head.
- Scraper (metal or plastic).
- Microfiber cloth.
- Prepare the Rail :
- Clean the rail thoroughly with a mild soap and water mixture.
- Dry it completely to ensure the wax adheres properly.
- Apply the Wax :
- Melt the wax using a waxing iron, spreading it evenly along the rail.
- Start with a small amount; add more if necessary for full coverage without buildup.
- Use the Waxing Iron :
- Press the heated waxing iron firmly onto the wax to melt and adhere it to the rail.
- Move the iron in a consistent motion to ensure even application.
- Scrape Excess Wax :
- Use a sharp scraper to remove excess wax, avoiding residue buildup.
- Buff the Rail :
- Buff the rail with a microfiber cloth to achieve a shiny finish and remove any remaining wax.
- Consider Wax Type :
- Choose hard wax for durability and longer-lasting grip.
- Soft wax may be easier to apply but requires more frequent touch-ups.
- Environmental Considerations :
- Wax better adheres in warmer environments; avoid applying in cold or humid conditions.
- Storage :
- Store the skateboard in a dry place to protect the waxed rail.
- Safety Precautions :
- Handle hot wax carefully; keep flammable materials away.
- Work in a well-ventilated area and consider wearing gloves.
- Maintenance Frequency :
- Re-wax every few weeks depending on usage; more frequently if heavily used.
- Explore Alternatives :
- Experiment with spray waxes or different applicators for personal preference.
By following these steps, you can maintain your skateboard rail for optimal performance and longevity.

How to Effectively Wax a Skateboard Rail
To ensure optimal performance and grip, follow these steps for waxing your skateboard rail:
- Gather Materials
- Skateboard-specific wax (e.g., beeswax or specialized skateboard wax)
- A waxing iron or scraper tool
- A clean, dry cloth or paper
- A utility knife or scraper
- Prepare the Rail
- Clean the rail thoroughly with a mild soap and water mixture.
- Ensure the rail is completely dry to promote proper wax adhesion.
- Apply the Wax
- Melt the wax according to the product instructions (some waxes may need gentle heating).
- Spread a thin, even layer of wax along the rail using the waxing iron or your fingers.
- Work in small sections to avoid overheating or uneven application.
- Let the Wax Set
- Allow the wax to fully set and harden according to the manufacturer’s guidelines (usually 10-30 minutes depending on the wax type).
- Scrape Excess Wax
- Use a utility knife or scraper to carefully remove excess wax without damaging the rail material.
- Scrape in the direction of the rail’s length to maintain its shape and structure.
- Buff the Rail
- Buff the rail with a clean, soft cloth or a buffer pad to achieve a shiny finish.
- Be gentle to avoid scratching or dulling the surface.
Additional Tips:
- Warm the wax slightly before application to enhance adhesion.
- Consider the environmental temperature; apply wax in a warm place for better results.
- Store your skateboard in a cool, dry place after waxing to preserve the wax layer.
By following these steps, you’ll ensure your skateboard rail is smooth, durable, and ready for whatever trick or grind you throw at it!


0 Comments